ASP.NET MVC controller dependency injection using Castle Windsor

In a previous post I looked at basic dependency injection. In this post I demonstrated dependency injection using a simple example in which all functionality in the application was wrapped up in a single class (TimeWriter) with an associated interface (ITimeWriter). The application uses the dependency injection framework to get an instance of this class by its interface. In the process of doing this, all dependencies within the class are also satisfied. The application can then run as normal and write the date and time to the screen.

This approach is fine for console applications as they usually only have one entry point (the Main method) and from there we have complete control over the all code that runs once the application has started. Including dependency injection in ASP.NET MVC web-applications isn’t so straightforward as by default we don’t have control over how code runs right from the start of a user request. The MVC routing engine interprets the request, maps this to a controller, instantiates the controller (using the default controller factory) and calls the correct method on the controller instance. We then get to steer the code execution within the controller method. From a programming perspective, MVC development is like writting an application with multiple entry points contained in multiple controllers.

As we don’t get to instantiate the controller for ourselves there is no obvious way to include dependency injection, unless we write a class and interface for every controller operation and register them with the dependency injection engine in an analogous fashion to the console application example. This would work but it’s clearly not a good idea!

Fortunately ASP.NET MVC allows us to specify custom controller factories, and Castle Windsor includes classes to make it very simple to include dependency injection in this customisation process. Once configured, you can include dependencies as properties in your controllers which, along with the controllers themselves, are resolved by Castle Windsor each time a user request is received.

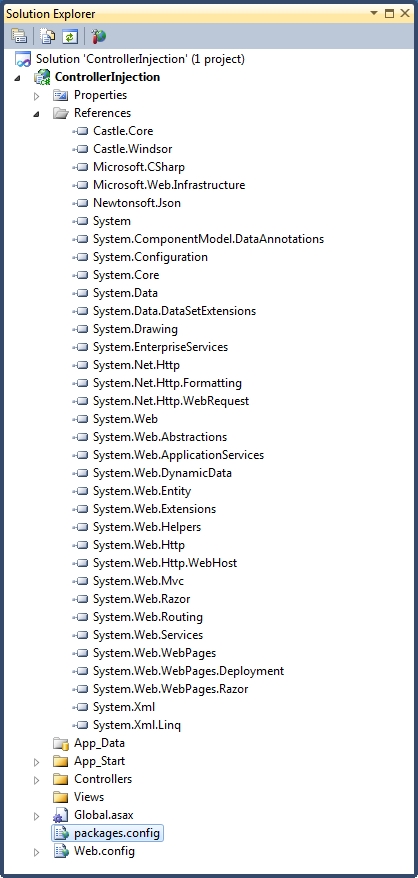
This time I’m starting with an Empty ASP.NET MVC application using the Razor view engine. The application and the containing solution are called ControllerInjection. Once created, I use NuGet to add a reference to Castle Windsor. My starting point thus looks like this:

Controller Injection 01

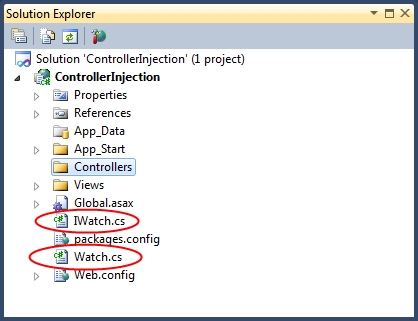
As in my basic dependency injection post I’m going to use Watch and IWatch as my example dependencies:

using System;

namespace ControllerInjection
{
    public interface IWatch
    {
        DateTime GetTime();
    }
}
using System;

namespace ControllerInjection
{
    public class Watch : IWatch
    {
        public DateTime GetTime()
        {
            return DateTime.Now;
        }
    }
}

These have been added to the solution as follows:

Controller Injection 02

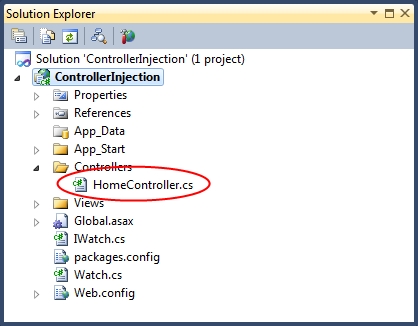
Now I’m going to include a controller called HomeController:

Controller Injection 03

This contains the following code:

using System.Web.Mvc;

namespace ControllerInjection.Controllers
{
    public class HomeController : Controller
    {
        public IWatch Watch { get; set; }

        public ActionResult Index()
        {
            var text = string.Format("The current time on the server is: {0}", Watch.GetTime());
            return Content(text);
        }
    }
}

The key point here is the property called Watch with type IWatch. This is the dependency which will be injected at runtime. To save having to write a new view the Index method returns raw content.

The next component to implement is our custom controller factory. I’ve included this in a folder called DependencyInjection:

Controller Injection 04

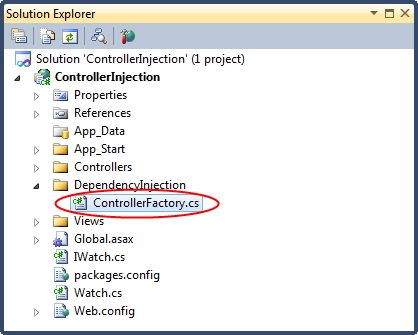
The code inside ControllerFactory is as follows:

using System;
using System.Web;
using System.Web.Mvc;
using System.Web.Routing;
using Castle.MicroKernel;

namespace ControllerInjection.DependencyInjection
{
    public class ControllerFactory : DefaultControllerFactory
    {
        private readonly IKernel kernel;

        public ControllerFactory(IKernel kernel)
        {
            this.kernel = kernel;
        }

        public override void ReleaseController(IController controller)
        {
            kernel.ReleaseComponent(controller);
        }

        protected override IController GetControllerInstance(RequestContext requestContext, Type controllerType)
        {
            if (controllerType == null)
            {
                throw new HttpException(404, string.Format("The controller for path '{0}' could not be found.", requestContext.HttpContext.Request.Path));
            }

            return (IController)kernel.Resolve(controllerType);
        }
    }
}

This class extends the DefaultControllerFactory, overriding the methods to get and release controllers. Note that the Castle Windsor kernel is used to resolve each controller by the type of controller required.

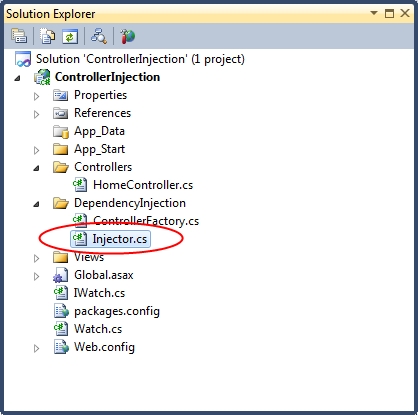
The next thing to add is a dependency injector:

Controller Injection 05

using System.Web.Mvc;
using Castle.MicroKernel.Registration;
using Castle.Windsor;
using Castle.Windsor.Installer;

namespace ControllerInjection.DependencyInjection
{
    public static class Injector
    {
        private static readonly object InstanceLock = new object();

        private static IWindsorContainer instance;

        public static IWindsorContainer Instance
        {
            get
            {
                lock (InstanceLock)
                {
                    return instance ?? (instance = GetInjector());
                }
            }
        }

        private static IWindsorContainer GetInjector()
        {
            var container = new WindsorContainer();

            container.Install(FromAssembly.This());

            RegisterInjector(container);
            RegisterControllers(container); 
            RegisterTimeComponents(container);
            
            return container;
        }

        private static void RegisterTimeComponents(WindsorContainer container)
        {
            container.Register(
                Component.For<IWatch>()
                .ImplementedBy(typeof(Watch))
                .LifeStyle.Singleton);
        }
        
        private static void RegisterControllers(WindsorContainer container)
        {
            var controllerFactory = new ControllerFactory(container.Kernel);
            ControllerBuilder.Current.SetControllerFactory(controllerFactory);

            container.Register(
                    Classes.FromThisAssembly()
                    .BasedOn(typeof(IController))
                    .If(t => t.Name.EndsWith("Controller"))
                    .If(t => t.Namespace.StartsWith("ControllerInjection.Controllers"))
                    .Configure(c => c.LifestylePerWebRequest()));
        }

        private static void RegisterInjector(WindsorContainer container)
        {
            container.Register(
                Component.For<IWindsorContainer>()
                .Instance(container));
        }
    }
}

This is very similar to the injector in my basic dependency example, apart from the addition of a method to register controllers. Crucially, this method also registers our customer controller factory. Note that the lifestyle of each controller is set using LifestylePerWebRequest. This ensures that each new request gets its own controller instance.

As the controller factory is only registered once the injector singleton instance has been instantiated, we need to make sure that we initialise the injector when the application starts up. I’ve done this in the Application_Start method of the Global.asax class:

using System.Web.Http;
using System.Web.Mvc;
using System.Web.Routing;
using ControllerInjection.DependencyInjection;

namespace ControllerInjection
{
    public class MvcApplication : System.Web.HttpApplication
    {
        protected void Application_Start()
        {
            // Ensure the dependency injection has been initalised:
            var injector = Injector.Instance;

            /* Normally you would do something with the injector here, like writing an entry to 
             * the log stating that the application had started. */

            AreaRegistration.RegisterAllAreas();

            WebApiConfig.Register(GlobalConfiguration.Configuration);
            FilterConfig.RegisterGlobalFilters(GlobalFilters.Filters);
            RouteConfig.RegisterRoutes(RouteTable.Routes);
        }
    }
}

In practice this doesn’t prove to be a problem as most applications will involve some kind of logging tool (such as Log4Net) which will be obtained from the dependency injection engine. It is usual to log the fact that the application starts, so the injector gets instantiated anyway.

Running the code results in the following string being written to the screen as expected:

The current time on the server is: 11/04/2013 21:59:36

Simple AJAX ASP.NET MVC web-pages that work without JavaScript

AJAX, .NET 4, MVC etc… work together to make web-development very simple, and when Microsoft introduced @Ajax.BeginForm(…) it looked as though life couldn’t get any easier. However, now that jQuery is integrated into Visual Studio as well, I think there are better ways of building AJAX enabled web-pages that using Microsoft’s take on AJAX.

In this post I’ll be building an example solution that is AJAX enabled using jQuery, but works fine if the user has JavaScript switched off. (Although I’m not sure how many people that is this days. In 2010 some say it was around 2% of users but probably less now, although there are still going to be users with a valid reason why they need to keep it disabled.)

So, the final solution is going to look like this:

Simple Ajax 1

I started with an empty MVC 4 project in Visual Studio 2010 and added references to jQuery using the awesome NuGet.

IndexViewModel in the AjaxTest.Models.Home namespace looks like this:

namespace AjaxTest.Models.Home
{
    public class IndexViewModel
    {
        public string Value { get; set; }
    }
}

…it’s just a simple POCO with a single field. The Index.js file in the folder Scripts\Home\Index.js looks like this:

$(function () {
    $('form').submit(function () {
        $.ajax({
            url: this.action,
            type: this.method,
            data: $(this).serialize(),
            success: function (result) {
                $('#Target').html(result);
            }
        });
        return false;
    });
});

This looks for a form element and wires up an AJAX call in to the form submit event using jQuery. When the AJAX call completes, any data received is written to a div called Target. If this was anything other than a simple demonstration I would handle errors with a suitable pop-up. The ‘return false;’ statement at the end is really important. This tells JavaScript not to allow the form submit event to bubble up as normal when the code declared here completes.

Next is the Index.cshtml file, which is the display part of the application:

@model AjaxTest.Models.Home.IndexViewModel
@{
    Layout = null;
}
<!DOCTYPE html>
<html>
<head>
    <meta name="viewport" content="width=device-width" />
    <script language="javascript" type="text/javascript" src="@Url.Content("~/Scripts/jquery-1.9.1.js")"></script>
    <script language="javascript" type="text/javascript" src="@Url.Content("~/Scripts/Home/Index.js")"></script>    
    <title>Index</title>
</head>
<body>
    <div>
        @using (Html.BeginForm("Index", "Home"))
        {
            <div><input type="submit" value="Click to Update" /></div>
            <div id="Target">@Model.Value</div>
        }
    </div>
</body>
</html>

References to both jQuery and my own JavaScript file have been added, along with a model declaration. Inside the body tag is a normal HTML form, a submit button and the div that will be targetted by my AJAX call.

Finally, here is the code for the controller that binds everything together:

using System.Web.Mvc;
using AjaxTest.Models.Home;
using System;

namespace AjaxTest.Controllers
{
    public class HomeController : Controller
    {
        public ActionResult Index()
        {
            var viewModel = new IndexViewModel { Value = "No Value" };
            return View("Index", viewModel);
        }

        [HttpPost]
        public ActionResult Index(object formData)
        {
            var newValue = "Value: " + DateTime.Now;

            // Use an AJAX dialog if possible:
            if (Request.IsAjaxRequest())
            {
                return Content(newValue);
            }

            return View("Index", new IndexViewModel { Value = newValue });
        }
    }
}

The Get method creates a view model for the initial state of the page and renders our index page. The Post method is a little more interesting. This uses the Request.IsAjaxRequest() to determine whether the Post was performed using AJAX or good-old postbacks. If the former is true, some text (containing the time) is returned which our JavaScript function will insert into the div named Target. If not, the entire form is returned, still using the text that would have been passed back had JavaScript been enabled in the client browser.

The end result that the user receives is the same regardless of whether they have JavaScript enabled or not, but in cases where they do, a postback is avoided.

Thank you jQuery!

Linking JavaScript and CSS files

As well as hopefully helping other people out, one objectives of this blog is to act as an aide-memoire as I often find myself looking up the same things on Google over and over again, or thinking “I knew how to do that two months ago”. So, I’ve included a category called “Aides-Memoires” which contains posts only intended to jog my memory so that I don’t have to keep repeating the same Google searches. This post is the first of this type.

Despite being heavily involved in development using web-technologies for over 10 years, one thing I can never seem to remember is how to declare JavaScript and CSS files in the section of my HTML pages. This is extremely basic stuff but I can never remember the syntax! So, here is my aide-memoire:

JavaScript:

<script language="javascript" type="text/javascript" src="scripts/myScripts.js"></script>

CSS:

<link rel="stylesheet" type="text/css" href="styles/myStyles.css" />

Notice that in the above examples the linked JavaScript and CSS files need to be in folders called ‘scripts’ and ‘styles’ respectively in order for the links to work, and that these folders must exist at the same level as the page that is referencing them. If you were to move the referencing page to a sub-folder on the web-server for example, your linked files would no longer be accessible. I would call this a brittle solution.

If you’re lucky enough to be using ASP.NET MVC you also have the option of getting the .NET Framework to work out the relative paths to the files you need to reference. If you’re using the Razor engine, this is coded as follows:

JavaScript:

<script language="javascript" type="text/javascript" src="@Url.Content("~/scripts/myScripts.js")"></script> 

CSS:

<link rel="stylesheet" type="text/css" href="@Url.Content("~/styles/myStyles.css")" />

The tilde (~) simply means “start from the root level of my website”. This is a far less brittle solution.

Update:

I’ve just read that the Razor version 2 engine in ASP.NET MVC 4 is smart enough to not need the @Url.Content() helper. It automatically resolves tildas, so the following will suffice:

<script language="javascript" type="text/javascript" src="~/scripts/myScripts.js" ></script>

CSS:

<link rel="stylesheet" type="text/css" href="~/styles/myStyles.css" />

As well as being robust when files are moved around, an added benefit is that Intellisense still works correctly.

Console application pitfalls: .NET Framework 4 Client Profile

Console applications are extremely useful for testing out bits of code before you’re ready to start writing production code. For instance, I use them when getting to grips with new third party components. These applications are supposed to be throw away and so coding standards are not usually adhered to!

One thing I often forget is that by default, console applications start with the target framework set to “.NET Framework 4 Client Profile”, as in the following properties window screenshot:

.NET Framework 4 Client Profile

Symptoms of this include references missing from the references dialog box, methods not being available in Intellisense and code generally not behaving as expected. I’m not exactly sure why “.NET Framework 4 Client Profile” is available in the first place or why it’s so restrictive. I’ve also not bothered to research this, although I suspect it’s probably to allow code to run in environments with low security permissions. However, for throw away code or code that is never going to leave your infrastructure I’d advise getting into the habit of changing the target framework to “.NET Framework 4” each time you make a new console application, otherwise you’re likely to end up scratching your end when simple stuff doesn’t work as expected.